
We’ll explain how to grow a mullet to you in this article. Go on reading.
The mullet is a well-known, if not notorious, hairstyle. A mullet is not a hairstyle for the weak-willed, so if you decide to wear one, be prepared for plenty of jokes and criticism. But if you do, it’s a classy appearance that not many other men will sport. Mullets have been worn by many well-known people. Furthermore, mullets can be worn with curly, wavy, or straight hair. It might be difficult to create a mullet if you’ve never cut your hair, but any hairstylist should be able to do it for you.
If you want to grow long, flowing locks but don’t already have any, you have two options. If you’re starting with a short hairstyle, such as a fade, give your hair three to four months. Letting your hair grow out naturally would be the quickest and easiest solution. Of course, you would have to put up with the uncomfortable hair-growth stage where your hair is halfway between short and long to do that.
Page Contents
How To Grow A Mullet
Just be patient and adhere to these easy steps:
- Grow Out Your Hair
- Divide Your Hair into Sections
- Cut the Front
- Trim the Sides
- Cut the Top
- Blend the Sides with the Top
- Comb the Back
- Trim the Back
- Blend the Back with the Sides
- Style Your Hair
Step 1: Grow Out Your Hair
If you want a mullet, you must first let your hair grow out. You get to choose the length of your mullet, which can range from two to six inches. Ultimately, the front should be about four inches shorter than the back. If you want to style your hair more successfully, you should let it grow out completely.
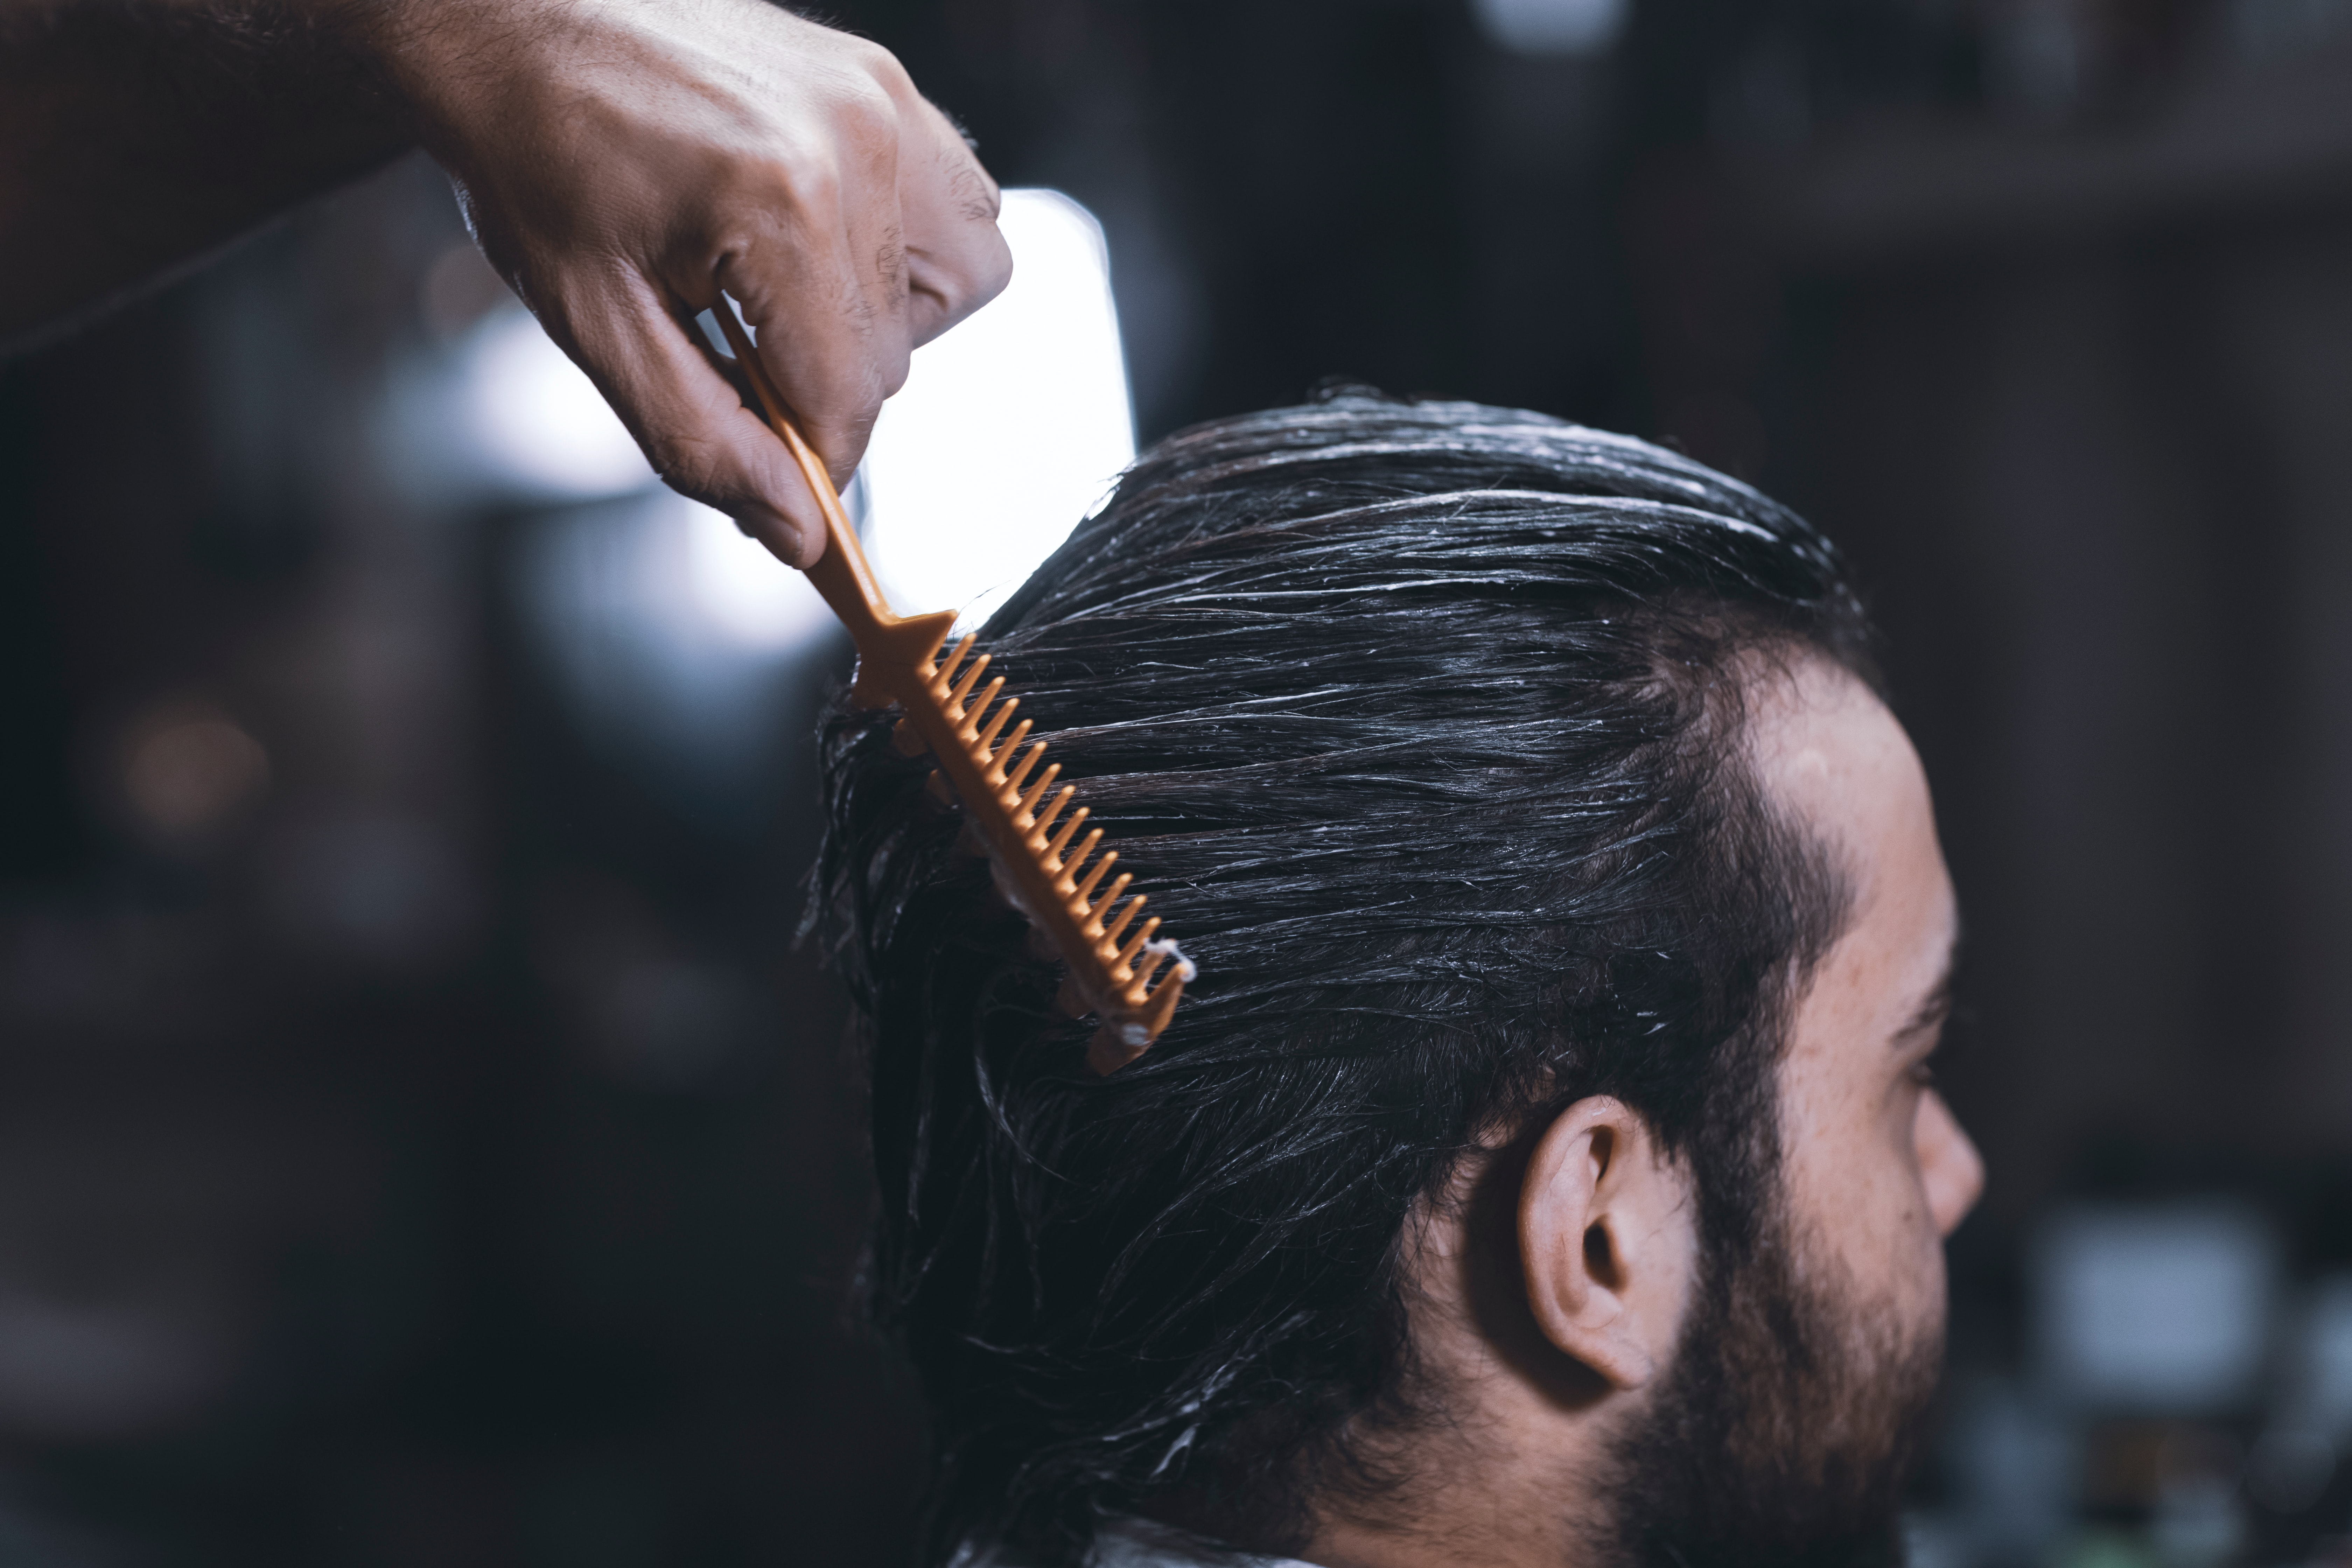
Step 2: Divide Your Hair Into Sections
You must use clips to divide the top of your head into three sections once your hair has grown out. Measure the distance between the center of your forehead and the beginning of its curve on top of your head. The other two sections are located on each side. Using a second clip, you can create these three divisions in any length-conscious area of your hair.
Step 3: Cut the Front
The first cut is made at the front. Comb some of the top hair over your forehead after slightly loosening it up. Cut the front to the desired length. You can wear your bangs however you like; some people prefer them angled, while others prefer them cut diagonally.
Step 4: Trim the Sides
Finish the front, then move to the side. The hair can be moved with your fingers. Angled bangs cross over the sides of your hair. Your hair should be styled so that the top is longer than the area behind your ears. To trim the hair around your ears, use a straight comb. In small, gradual sections, trim the hair. Use vertical cuts to simulate a tapering effect. Your cutting bursts shouldn’t be larger than 1/4 inch. Before beginning the second side, complete the first.
Step 5: Cut the Top
At this point, grab your head by the crown. Once the hair has been straightened, hold it in the middle. You can straighten and even out your hair by moving slowly. Starting at the front, climb back up. Having a clear vision of the style you want to achieve is essential if you want all of these sections to flow together.
Step 6: Combine the Sides and the Top
You must now blend the top of your hair with the sides of your hair after shaving the entire frontal area. To decide where to cut, look at the points where the top and sides meet. Trim the edges of your hair with a comb to make it blend. Draw your hair up and back. Try to choose your preferred style before starting any lines or sections. To achieve this look, comb your hair and trim any untidy areas.
Step 7: Comb the Back
Once you’ve finished cutting the front, shift to the back. After releasing the clip, let your hair hang naturally. Comb it afterward to make it flat and smooth. It will therefore be simpler to cut it evenly.
Step 8: Trim the Back
Now, brush your hair in an angular motion up and away from your head. Only trim a very small amount at a time to ensure smoothness. Once all the hair has been removed from the back, continue. As you trim, flip your hair up and away from your head to lengthen the back layers. Before continuing, make sure the length is appropriate.
Step 9: Blend the Back With the Sides
Continue with the backs of your hair after that. If you want your hair to look smooth and tapered, start by looking for any jagged edges and trimming them. Some people add layers to the sides to make it look like a shaggy mullet. But take care to omit the bottom. Even though the sides are layered, the bottom should have a blunt cut.
Step 10: Style Your Hair
Consider your styling options after cutting your hair in a straightforward mullet. Pick a style that appeals to you. Shaving the sides of your head is one of the newest trends. People still have slightly longer backs and continue to wear long tops.
Should You Grow A Mullet
There are a few hairstyle options if you’re bored or just sick of looking like everyone else. It’s time to embrace your wavy or curly hair if you have it. A good mullet might be the way to go if you want to give your appearance more edge. The time to get involved is now if you enjoy being on the cutting edge of fashion or if you’ve simply always wanted one. The mullet is anticipated to reach its height of appeal in the upcoming years before declining.
The Ending Note
A mullet can be grown out with the right hair styling technique and a combination of patience, even though it is impossible to magically accelerate hair growth. Just like with any other dramatic hairstyle, your hair won’t be able to instantly transition from one dramatic hairstyle to another. Therefore, patience is key.
This article on “How to grow a mullet” is intended to be a great help to you, and we sincerely hope it is.