
We will talk about how to trim a mullet in this article. Mullets were fashionable in 2020. We were all under lockdown, and the only people we saw either lived with us or were seen through a screen, but did anybody anticipate the mullet’s popularity to last? Surely this was an exception, a deviation from the usual that would go away when our normal lives resumed?
Not so much, to be honest. In 2022, the mullet is still prospering. Look at the wisps of white hair dropping across Tony Blair’s jacket or the curls sliding over Seth Rogen’s neck in behind-the-scenes photos from his new Hulu sitcom Pam & Tommy.
And, while the internet may have had a field day with Tony Blair’s new aging-rockstar style, We can all agree that for a 68-year-old guy, he looks quite fantastic, and the reason is simple: it’s the mullet.
However, Seth Rogen and Tony Blair aren’t the first to flaunt this hairdo; David Beckham, Bradley Cooper, and Brad Pitt have all sported a more conservative variation in recent years. We’re confident you’ll agree that it’s not a bad company to keep.
But the reality remains that for every David Beckham-esque mullet, there’s a Joe Exotic, and there’s always the risk that you’ll finish up looking more like Ziggy Stardust than Bradley Cooper.
Ready? Your quest for the ideal mullet begins today with this blog post’s instructions on how to trim a mullet.
Page Contents
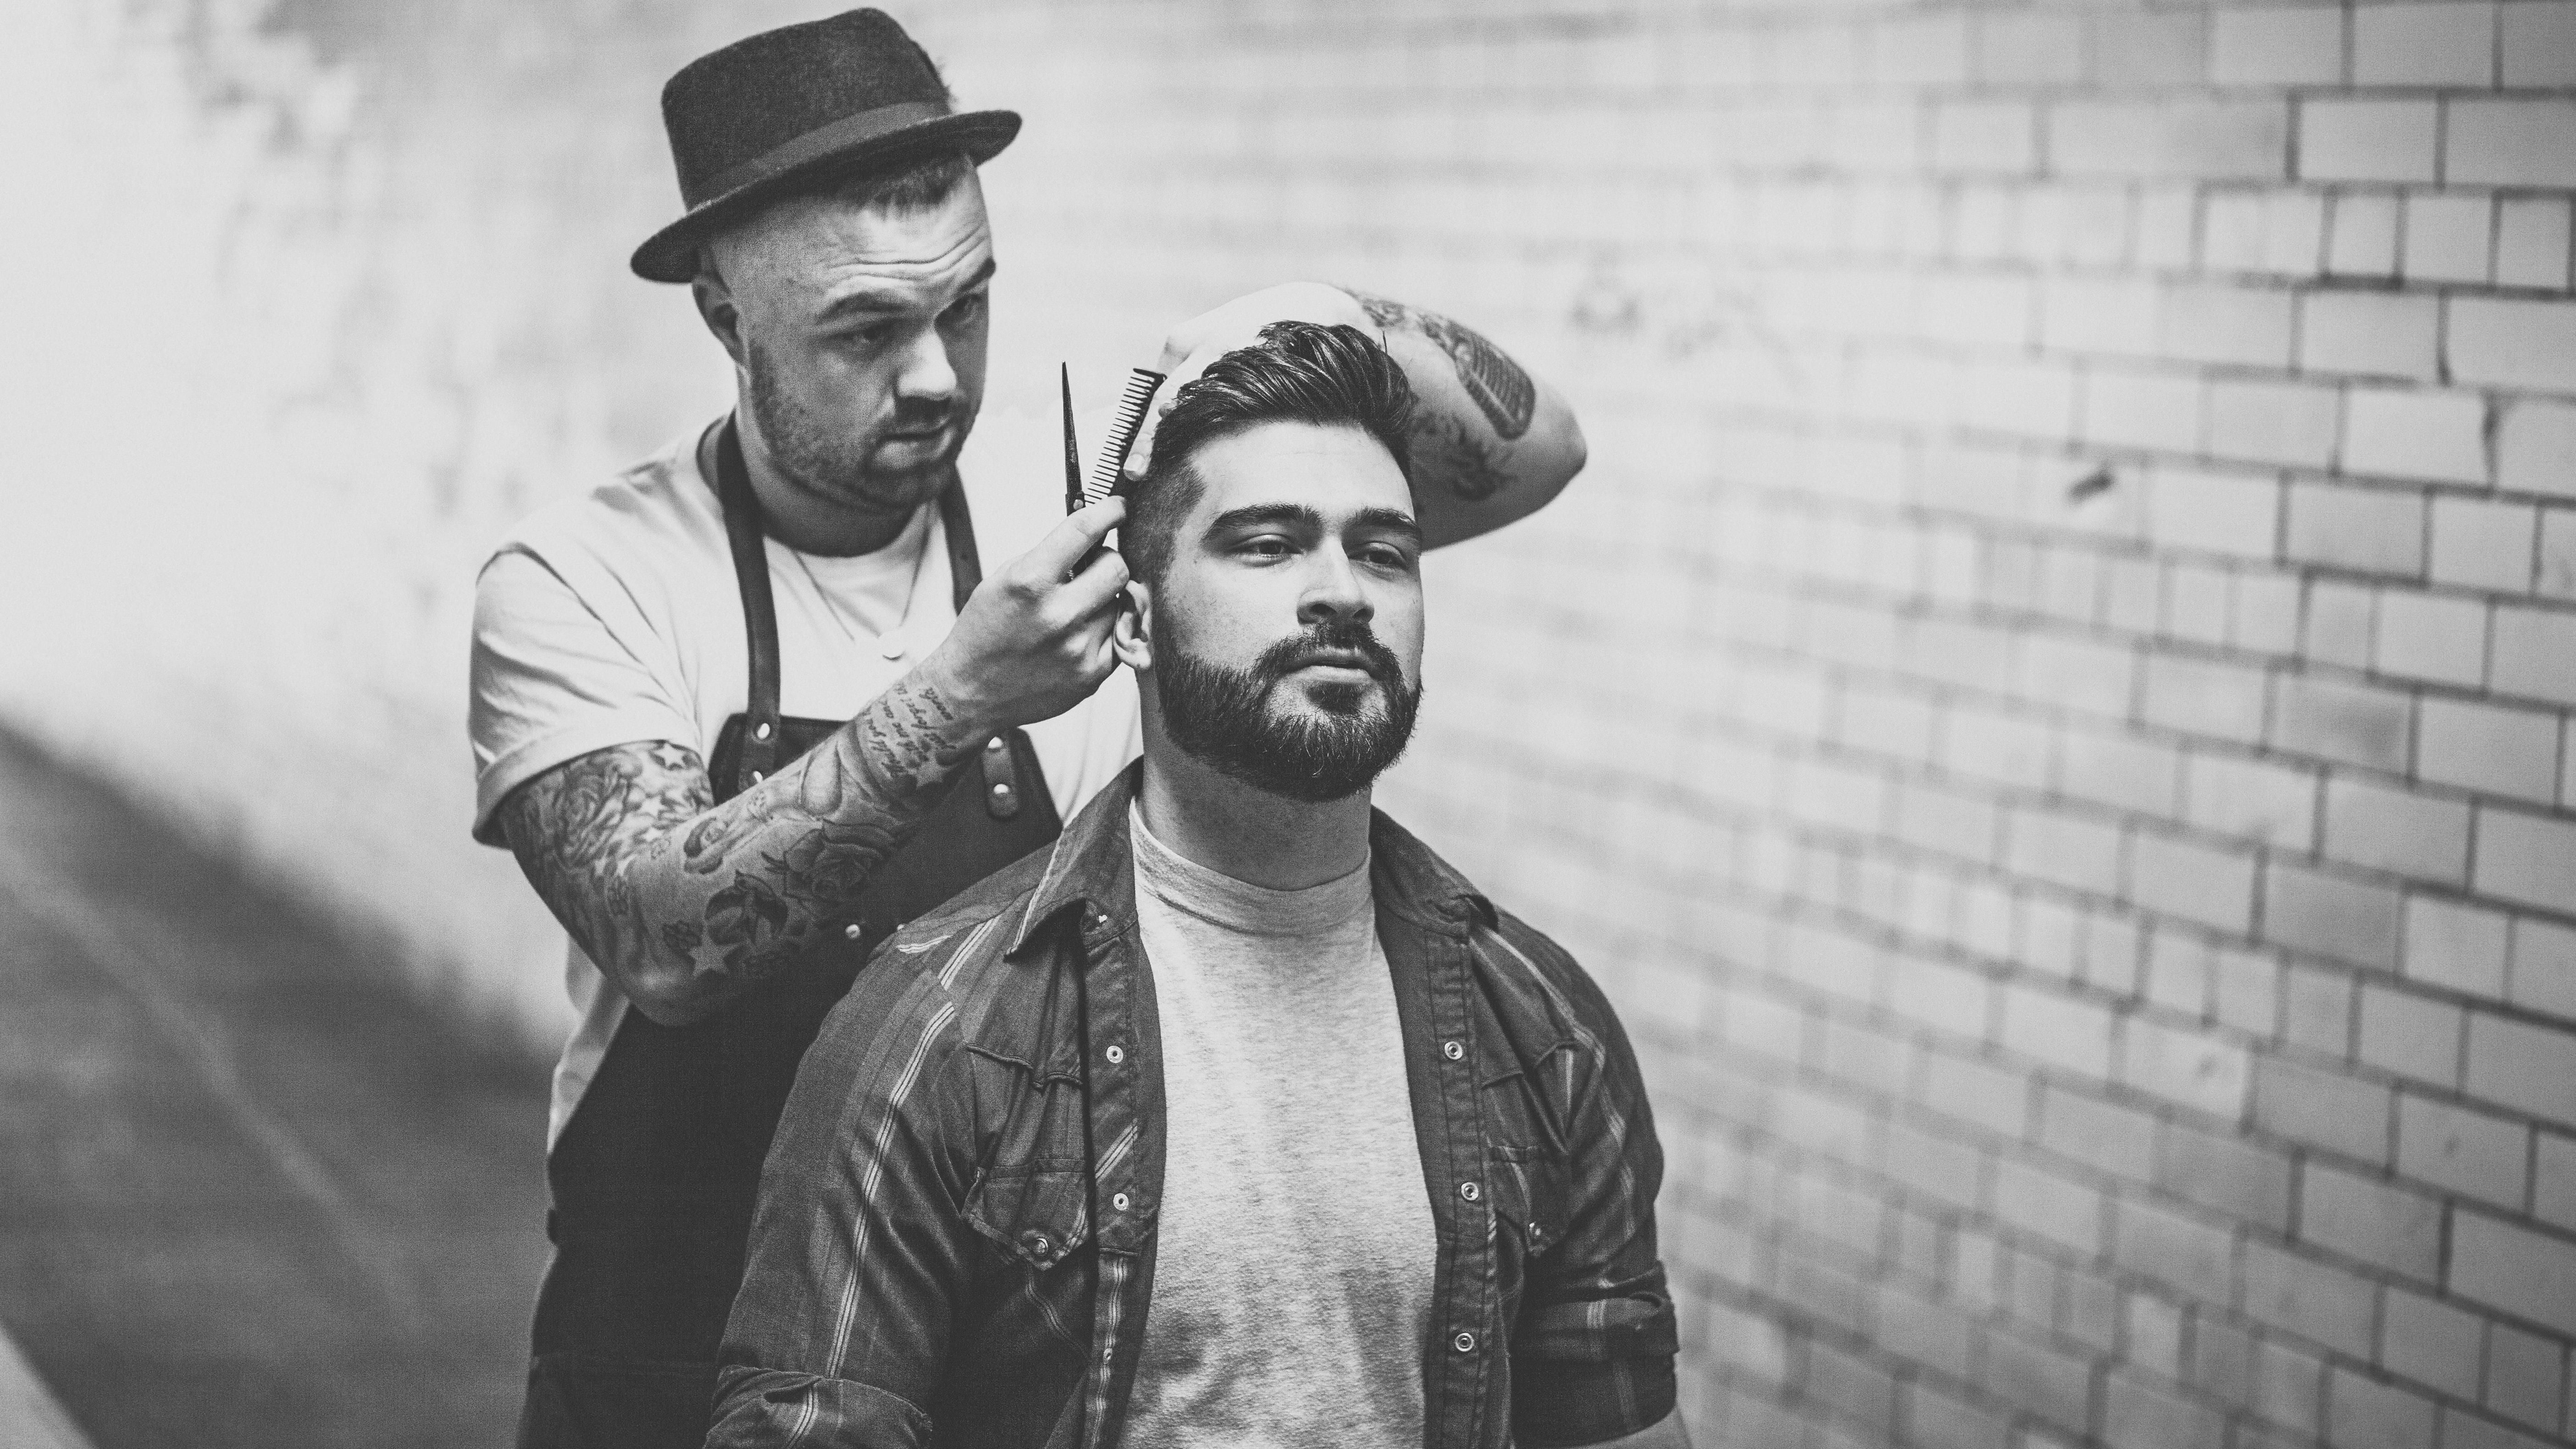
How To Trim A Mullet Hairstyle
Now that you’ve learned everything there is to know about the mullet, it’s time to learn how to trim a mullet for yourself. To assist you, we’ve created six-step guidance that will take you from a dull barnet to a hipster haircut. All you need to trim it yourself are the following items:
- Scissors
- A comb
- Hair clips
- Clippers
Guide On How To Trim A Mullet
Step 1
Allow your hair to dry naturally after washing it. Normally, your barber would cut it wet, but because you’re at home, seeing the form you’re creating will be much simpler. If you opt to cut it wet, keep in mind that the hair swells in this state and may be too short after it dries.
Step 2
Begin by dividing the areas to be chopped into four sections: the top, back, and sides. Put your finger at the highest point of the crown of your head and visualize the entire rectangular form on top of your head as the top panel. Comb back the corners of your head using the recession points (the deepest corners of your forehead), but don’t go any farther than the highest point of your head. That should give you a clear top panel.
Step 3
Next, separate your side panels, which should end at the bone behind each ear. Clip the side panels to the desired length and begin working on the top. So, beginning at the back of the head, work forward in horizontal sections no broader than two-finger spacing (this will help to keep the length as consistent as possible). Hold the parts at a 90-degree angle and cut through roughly.
Rep the procedure, using each portion you’ve cut as a guide for the next section. There should be about five sections. If you wish the front to be longer, as you move ahead, draw the parts backward at a 45-degree angle to keep some of the lengths.
Step 4
After you’ve finished stage two and are satisfied with the length, you may want to experiment with a more textured look. You can do this by holding your scissors at a vertical angle and cutting into the hair, resulting in uneven lengths throughout. If you wish to shorten your fringe, bring it down to your brow and gently chop at it.
Step 5
Once you’ve attained the correct length on top, use hair clips to separate it from the sides – remembering to retain lovely, clean lines from your recession points – and prepare to trim the sides. Gently buzz the sides off with your clipper. Begin with a high number guard for safety and work your way down until you find a length that works for you. Keep the clipper squarely against the skull.
Continue to buzz straight to the line if you want a Joe Exotic-style disconnection, or curve away from the head as you approach the temple area for a softer look. Because you want to keep as much length at the back as possible, don’t buzz any farther than the bone behind the ear.
To merge the sides and top, remove the top from the hair clips and either buzz it off with a guard higher than the number you used to trim the sides or use your scissors to carefully cut the overhang away from the curve of the head. This will prevent any hard lines from forming.
Step 6
We’ve arrived at the party section. With a mullet, the length at the nape of the neck is everything, so experiment with it for now. If you believe the top of your back is overly thick, you might consider losing weight. To do so, hold the portion immediately behind your head and above the back of your ears, pull it up at a 45-degree angle, and trim into it to remove some of the weight.
Things to Do:
- Before you begin, divide your hair into parts.
- Allow yourself plenty of time.
- Consider several styles.
- Before you begin, make sure your hair is uniformly distributed.
- Take your time blending your hair.
- If you are experiencing difficulty, see a stylist.
Things Not to Do:
- Don’t trim all of your hair at once.
- Do not attempt to create a mullet unless your hair is sufficiently long.
- Keep sharp angles out of your hair.
The Ending Note
The mullet has made a modest resurgence in recent years, but surely, once we’re out of lockdown and have to go to the office, the club, or anywhere else where there are other people, the mullet will be condemned to history once more?
So there you have it, the mullet has arrived. You now know how to trim a mullet and join a party.